Reserve your holiday favorites now on our pre-order page!

Recipes|Featured Main
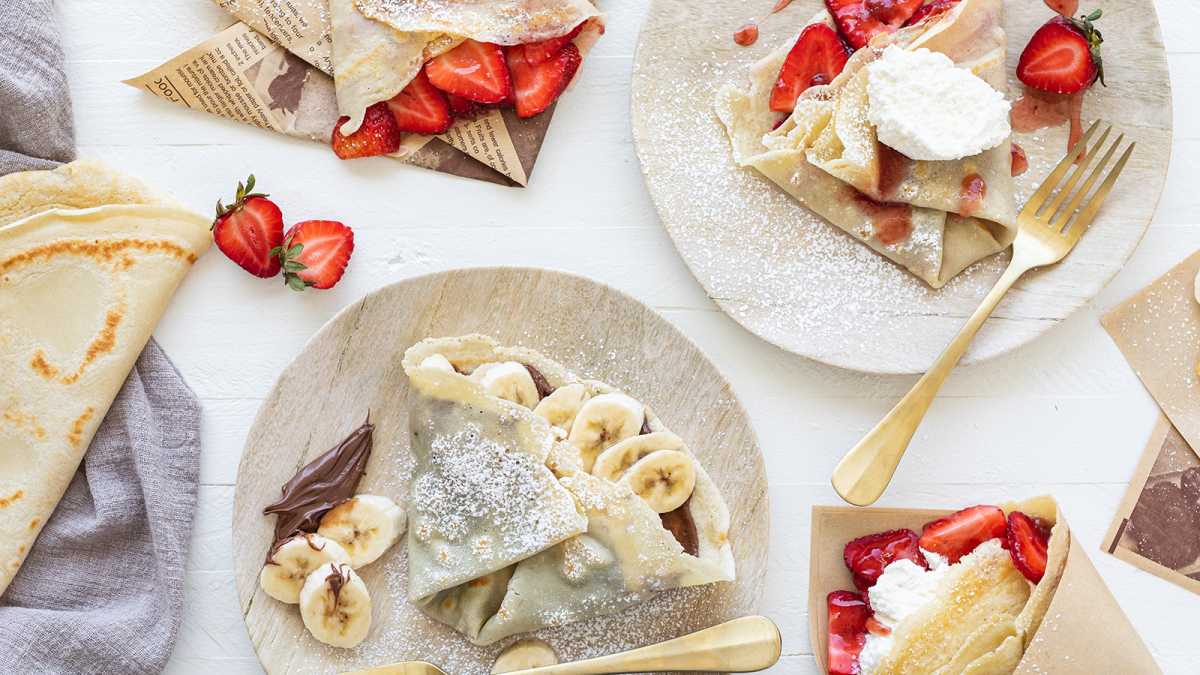
Crepes

Crepes

Crepes Photo
Difficulty Level: Easy
  • Prep Time:
    1 Hour
  • Cook Time:
    PT1H20M
    20 Minutes
  • Yield:
    16 Crepes
A blender makes whipping up this classic French street food a snap. The batter will cook up better if you take the time to let it rest. For an easy weekend breakfast make the batter the night before. From sweet fillings to savory these thin pancakes will be your go to crowd pleaser.
Ingredients
  • 3 eggs
  • ¾ cup whole milk
  • ½ cup water
  • 1 cup all-purpose flour
  • ½ teaspoon salt
  • 3 tablespoons unsalted butter, melted
  • Additional melted butter to grease the pan
  • 3 eggs
  • 177.44ml whole milk
  • 118.29ml water
  • 236.59ml all-purpose flour
  • 2.13g salt
  • 38.34g unsalted butter, melted
  • Additional melted butter to grease the pan

A blender makes whipping up this classic French street food a snap. The batter will cook up better if you take the time to let it rest. For an easy weekend breakfast make the batter the night before. From sweet fillings to savory these thin pancakes will be your go to crowd pleaser.

Preparation
STEP 1

Put all the ingredients in a blender. Pulse for 10 seconds. Scrape down the sides of the blender jar and pulse for an additional 5 seconds. Place the blender in the refrigerator for 1 to 24 hours.

STEP 2

Heat a small non-stick pan or crepe pan. Brush with melted butter. Pour 1 ounce of the batter into the center of the pan and tilt to spread evenly. Cook for about 1 minute and flip. Cook an additional 10 seconds and remove to a flat surface. Continue until you’ve used up the batter. Once the crepes are cool, you can stack them.

Options

Note: For dessert crepes, add 2 tablespoons white sugar. You can also add a teaspoon of vanilla extract and/or 2 tablespoons of your favorite liqueur.

To Store: You can store them in the refrigerator for one week or in the freezer for up to two months. We recommend you separate the crepes with a sheet of wax paper or parchment to keep them from sticking together while they’re being stored.

Sign up for our weekly featured recipe